
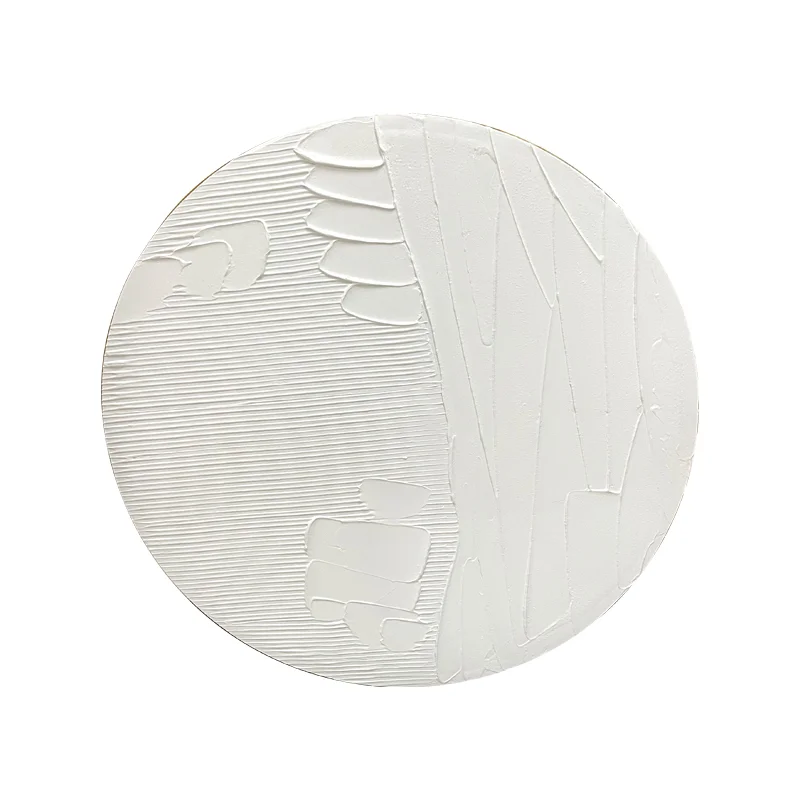
Minimalist plaster relief art focuses on simplicity, clean lines, and subtle textures to create understated yet impactful compositions. Here’s a breakdown of its key elements and how to approach it:
Characteristics:
-
Subtle Depth – Low-relief (bas-relief) carving with gentle elevations.
-
Neutral Palette – Often left in raw white/beige plaster or monochrome tones.
-
Geometric or Organic Forms – Think soft curves, sharp angles, or abstract shapes.
-
Negative Space – Ample empty areas to emphasize the relief’s form.
-
Matte Texture – Smooth or lightly textured surfaces for a tactile feel.
Process (Simplified):
-
Design Sketch – Draft a simple motif (e.g., a single wave, concentric circles, or a floating rectangle).
-
Base Layer – Apply plaster (e.g., gypsum, Jesmonite) onto a wooden panel or substrate.
-
Carving/Modeling –
-
Subtractive: Etch into partially set plaster with knives/loop tools.
-
Additive: Build up layers with a spatula for gradual depth.
-
-
Smoothing – Refine edges with fine sandpaper or a damp sponge.
-
Finishing – Seal with matte varnish or leave unfinished for a raw aesthetic.
Inspiration Ideas:
-
A single asymmetrical line rising from the surface.
-
A faint, cloud-like cluster of rounded bumps.
-
A recessed geometric grid with shallow grooves.
-
A minimalist mountain range in staggered tiers.
Tips:
-
Use masking tape for crisp edges.
-
Experiment with shadows—minimalist reliefs rely on light interplay.
-
For color, try muted earth tones or a single wash of pigment.
Leave a Reply